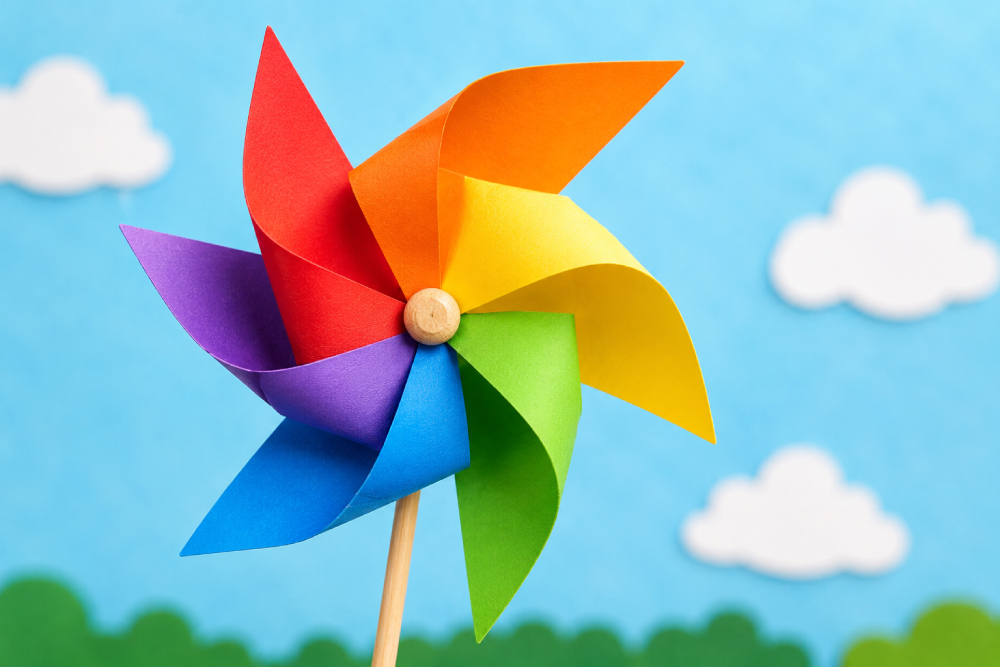
Do you want to make a fun and colorful craft that spins in the wind? 😊
A paper windmill is easy to make and super fun to play with. You can use bright colors and watch it twirl round and round! 🌬️✨
Let’s make your own paper windmill!
✂️ What You Need
Here are the simple things you will need:
⭐ Colored paper
⭐ Scissors
⭐ Glue or a split pin
⭐ Pencil with an eraser
⭐ Scale and pencil for drawing lines
Ask an adult to help when using scissors or pins.
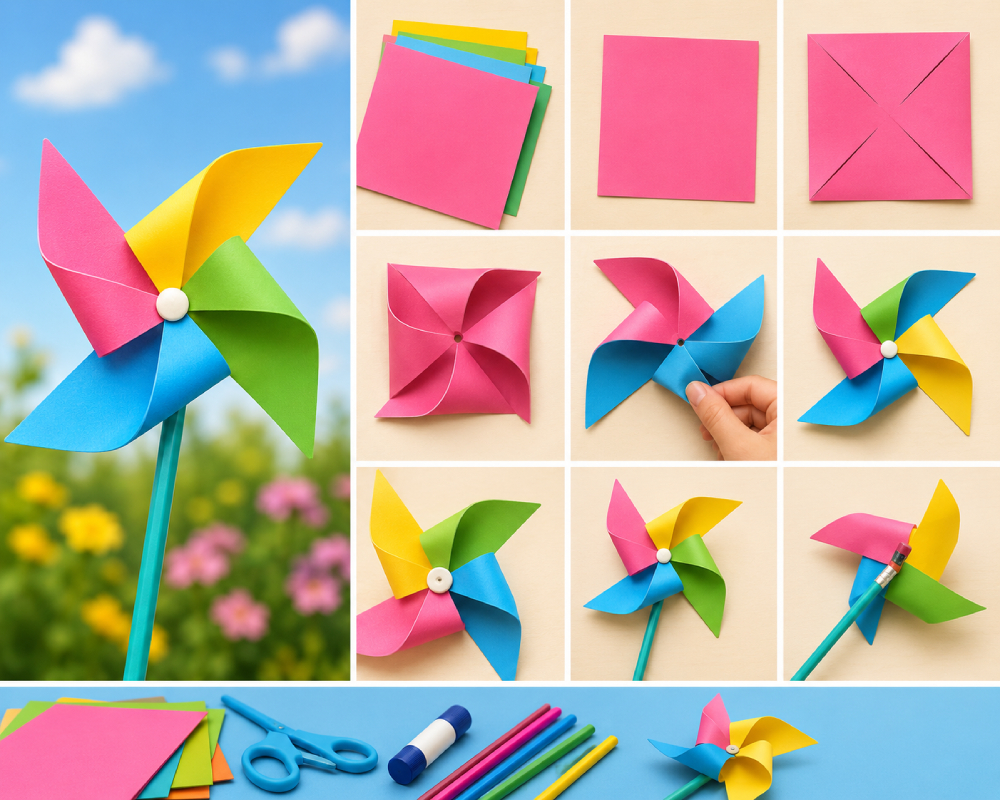
📏 Step 1: Make a Square
Take a colorful sheet of paper and cut it into a square shape.
Bright colors make the windmill look extra beautiful! 🌈
✏️ Step 2: Draw Lines
Use a ruler to draw lines from each corner toward the center.
⚠️ Do not draw all the way to the middle. Leave a small space in the center.
✂️ Step 3: Cut the Lines
Carefully cut along the lines you drew.
Stop cutting before you reach the center.
Now your paper will have four flaps.
🔄 Step 4: Fold the Corners
Take one corner from each flap and gently fold it toward the center.
This will create the windmill shape.
📌 Step 5: Attach the Windmill
Use a split pin or glue to attach the folded corners in the center.
Then fix it onto a pencil with an eraser at the back.
Now your windmill is ready!
🌬️ Step 6: Watch It Spin
Take your windmill outside or blow on it gently.
🌈🌀 Spin, spin, spin!
It looks magical when the wind catches it.
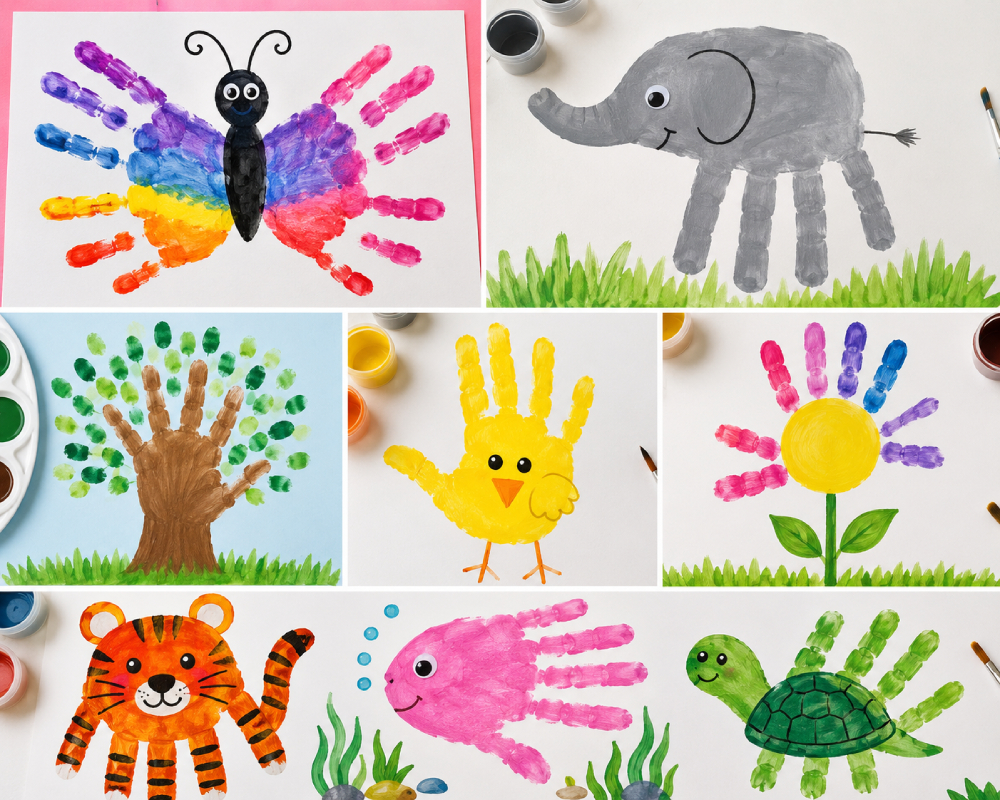
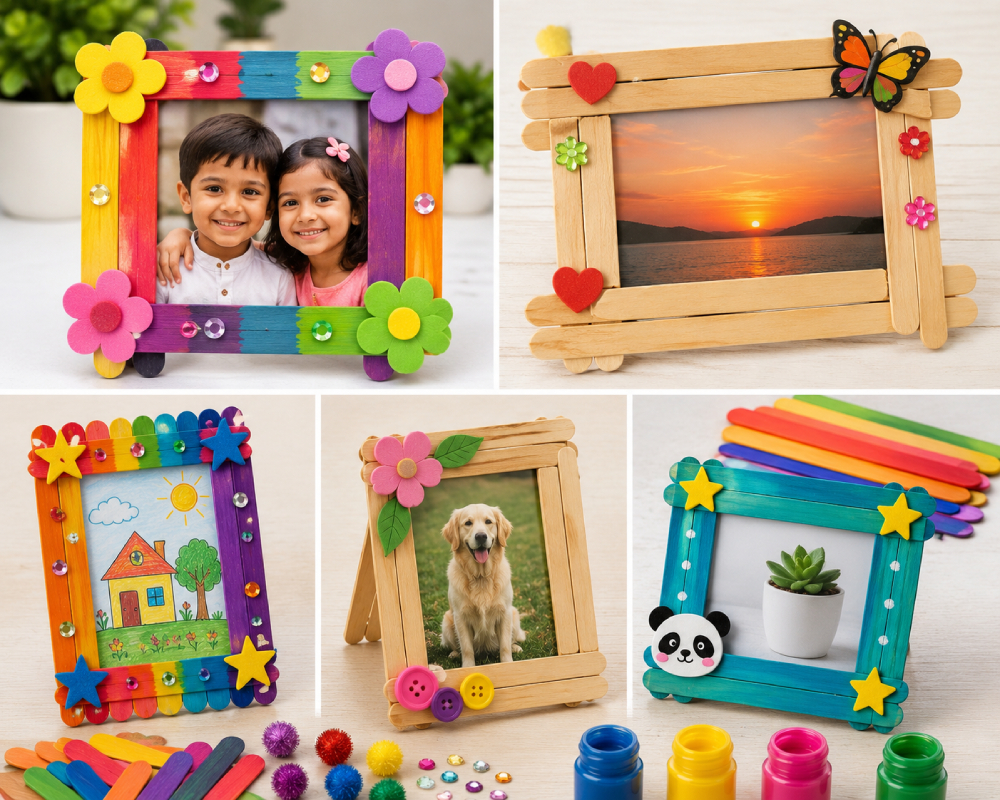
🎨 Fun Ideas
You can:
⭐ Add stickers
⭐ Draw smiley faces
⭐ Use glitter or patterns
⭐ Make windmills in different colors
Every windmill can look unique!
🌟 Final Thoughts
Making a paper windmill is a fun and creative craft for kids. It helps you practice cutting, folding, and decorating while having lots of fun.
So grab some colorful paper and start spinning your magical windmill today! 🌈🌀😊